


How to take beautiful, expensive photos with a disposable camera
A master-class in understanding different creative techniques for shooting with disposable cameras - for those with zero photo experience all the way to pros

I’ve been photographing families and kids professionally for the last 17 years and to be honest, some of my favorite and most popular photos I’ve ever taken have been with a $15 disposable camera (I charge $1k-$4k for my shoots so that’s saying a lot).
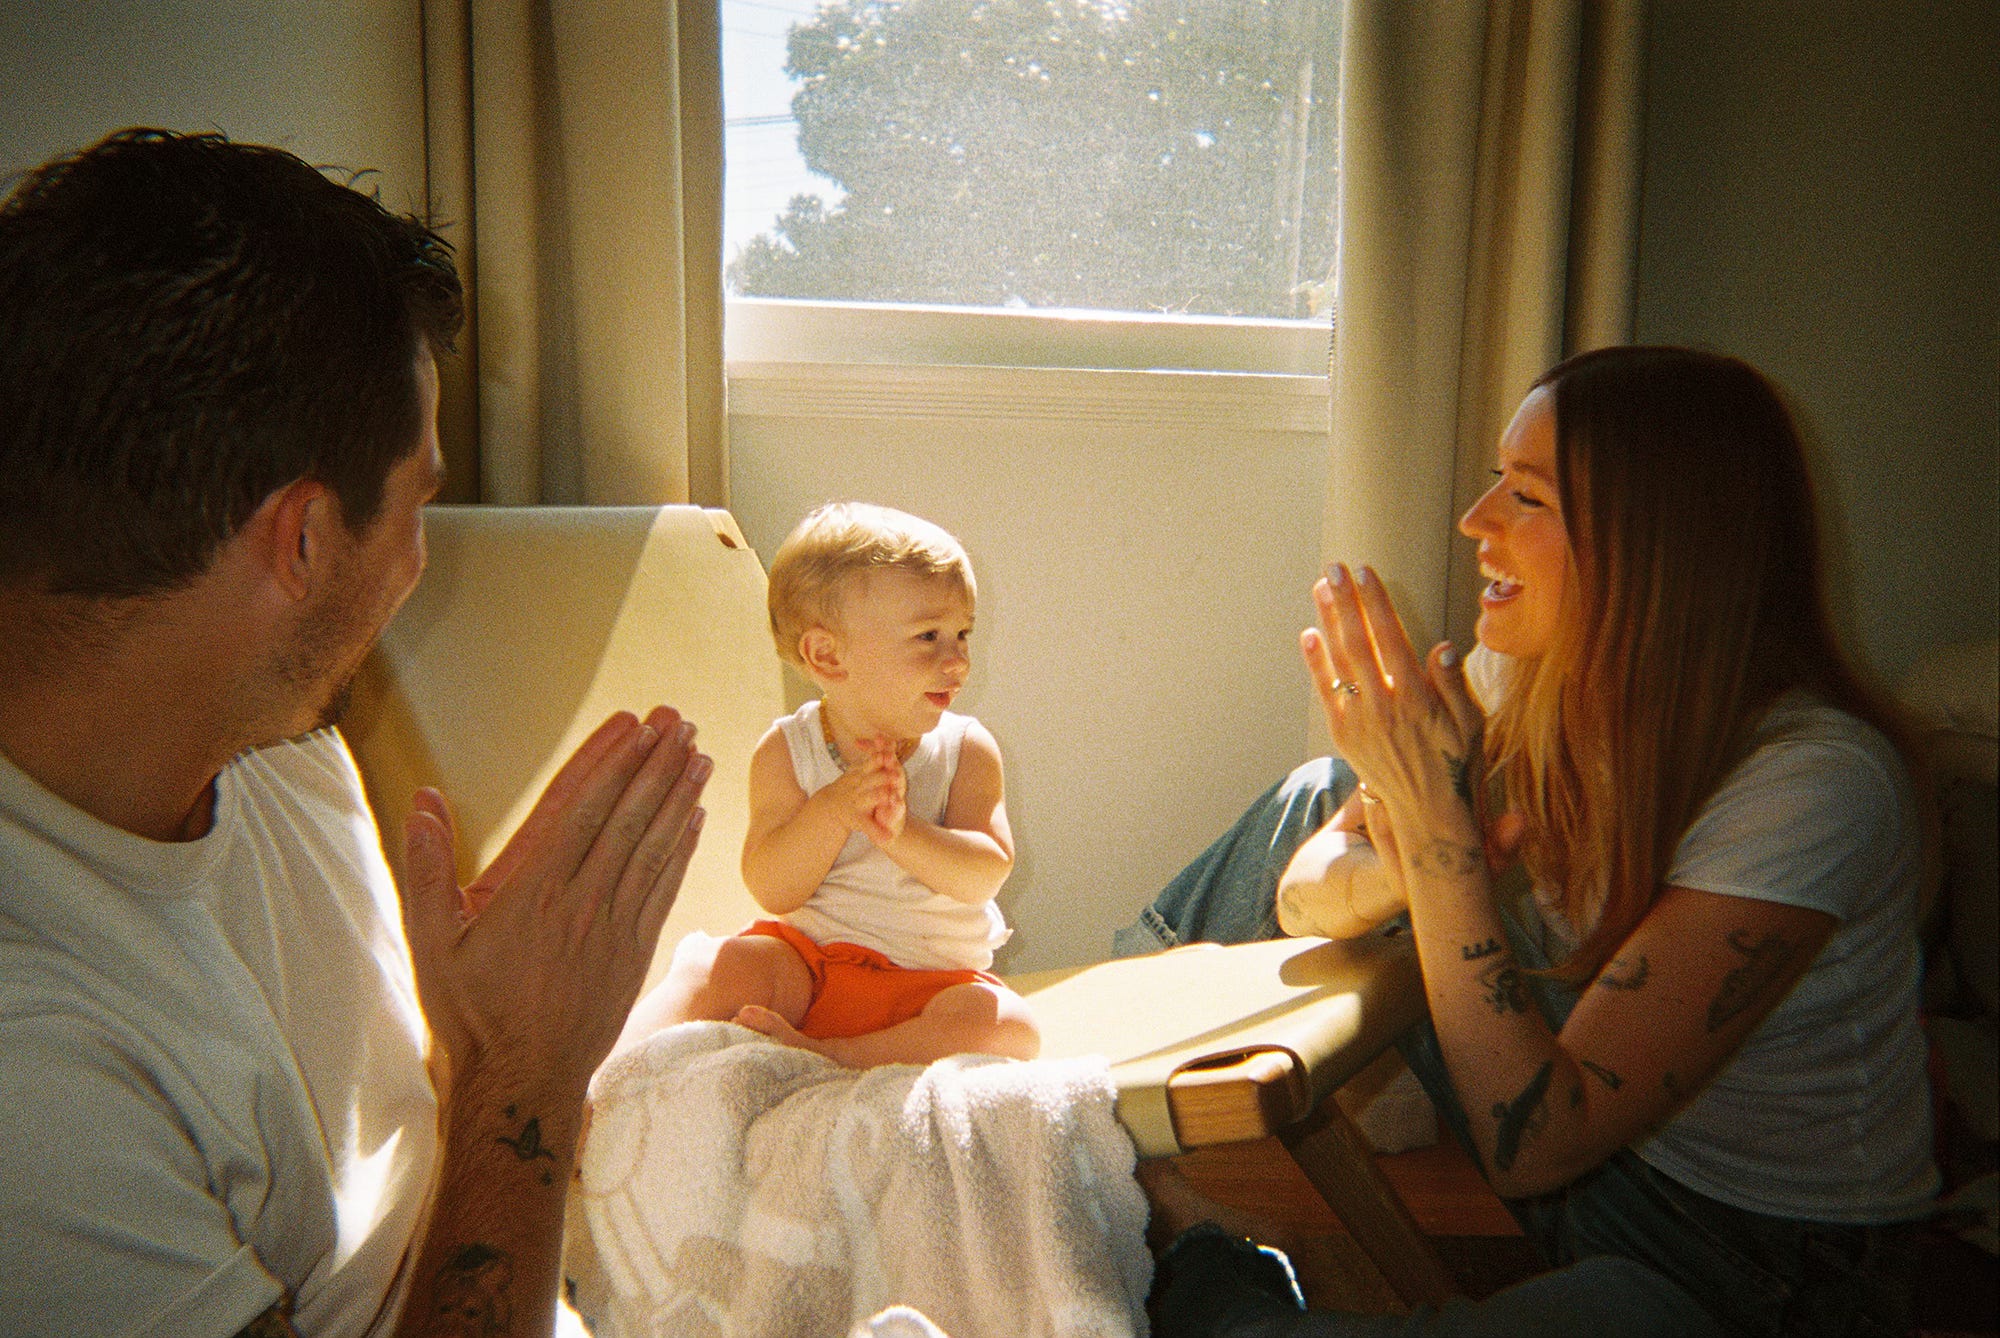
I think the reason these kinds of images are so special is because of their soft and dreamy quality. Like the way that our memories are not tack sharp… the photos that disposables make are sentimental and cozy because they feel so familiar to us.
Anyway, I decided to make my post today on how to understand these cameras inside and out using all of the lessons I’ve learned. So you can make beautiful, expensive looking pictures with them too (expensive as in, they look so darn good that they’re worthy of being framed and displayed somewhere in your home, or delivering to your $4k photography clients if you’re a pro).
In this article, I’m going to share all of my best tips for getting great (more consistent) results with them.
For my paid subscribers, let’s get into the nitty gritty of how to nail shooting with them!
If you’re curious about my content, just a reminder that I share 1 post a month for my free subscribers and 3 posts for my paid subscribers. I’m a mom of 3 kids and the more paid subscribers I get, the more great content I can make to help in your journey to shooting film, and doing it well. So you can enjoy the absolute *magic* that is shooting with this medium.