


How to nail your film exposures (every single time)
Let’s talk light meters, auto settings, and the real reason your film photos aren’t turning out

There’s nothing worse than getting a roll of film back and realizing… only 2 or 3 photos turned out the way you’d hoped. But the rest?
Dark. Muddy. Grainy.
Not at all matching up to the excitement you felt when you clicked the shutter.

This is one of the most common complaints people share with me when they’re trying to shoot film.
And boy do I remember that feeling when I first was figuring it out... It’s so disappointing!
Not just because film is expensive, but because every frame was this moment of anticipation and hope. You saw something beautiful and you wanted to capture that. You wanted it to mean something. It can be such a let down when you get the photos back from the lab and they don’t match up to the expectation of what you saw and felt in the moment.
If that’s ever been you, let me assure you, not only is it so fixable. But it’s a lot easier than you think!

Here are three ways you can get the right exposure on your film and my tips for each approach (so you can finally start enjoying the magic of getting rolls of pictures back that turned out how you felt taking them):
Use a Handheld Light Meter (My Favorite: Sekonic 358)
In my experience, this is the most accurate method.
You set the ISO to match your film stock (so if it’s portra 400 for example, you would set your ISO on your light meter as 400 or maybe even overexpose a little and set your ISO on the light meter at 320), choose your desired aperture (like f/2.8 or f/4), and the meter tells you what shutter speed to use based on the light.
Tip: Always meter in the light that’s falling on your subject’s face, and consider overexposing by 1 stop for film stocks like Portra 400 or Kodak Gold 200. Film loves light.
Use a Light Meter App (I Recommend: Light Meter Ultra)
If you’re just starting out, this is a super accessible option.
Download the Light Meter Ultra app to your phone (I just use the free version)
Set it for aperture priority mode and select your aperture (I recommend f/2 or f/2.8 if you’re inside, and f/4 or f/5.6 if you’re outside)
Hold it up to your subject
Adjust your camera settings to match what the app recommends.
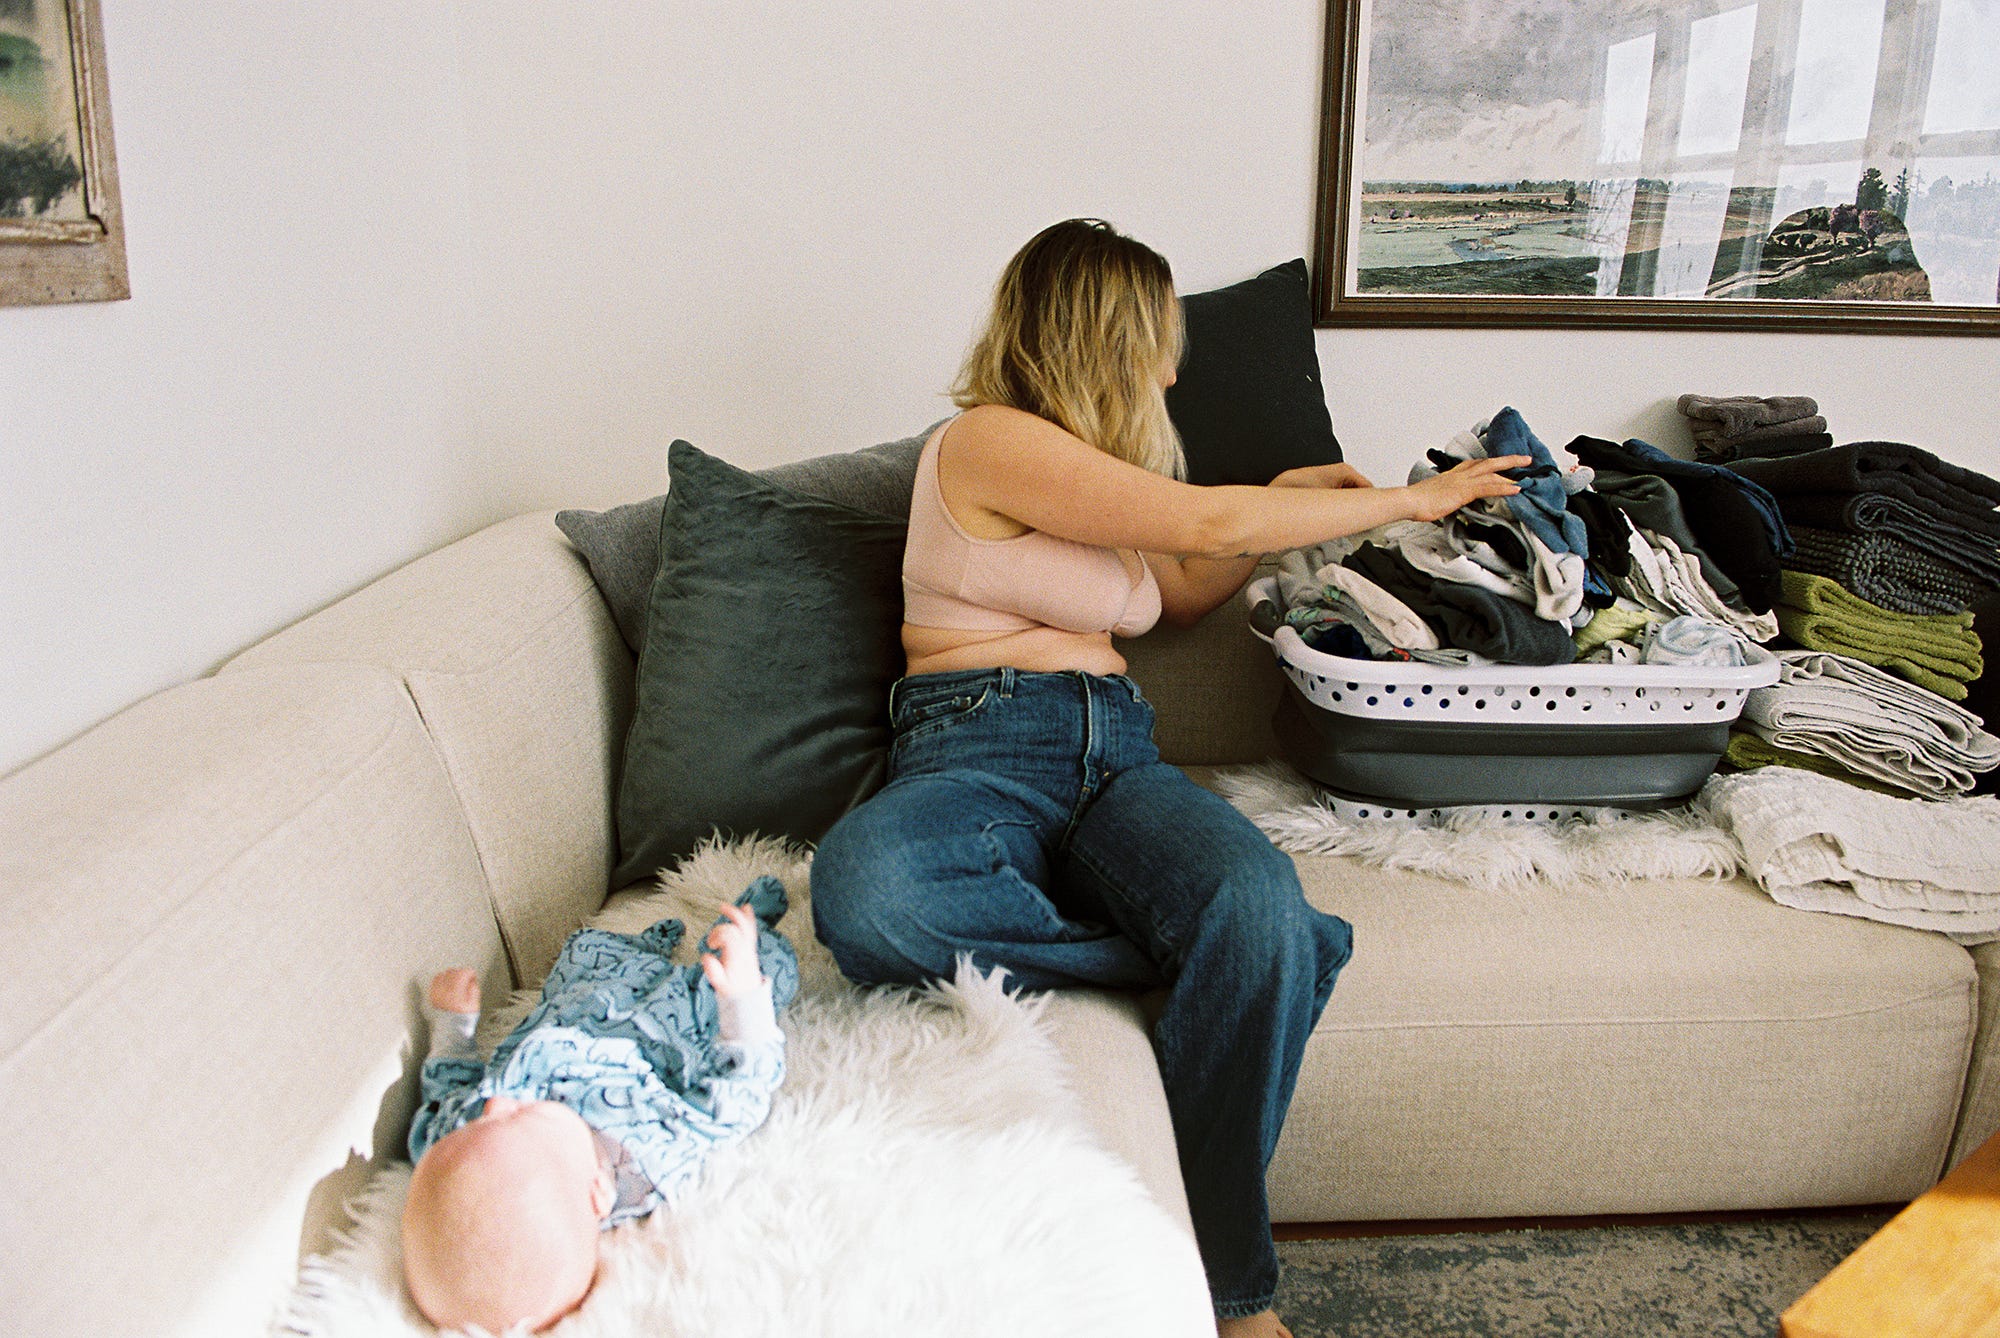
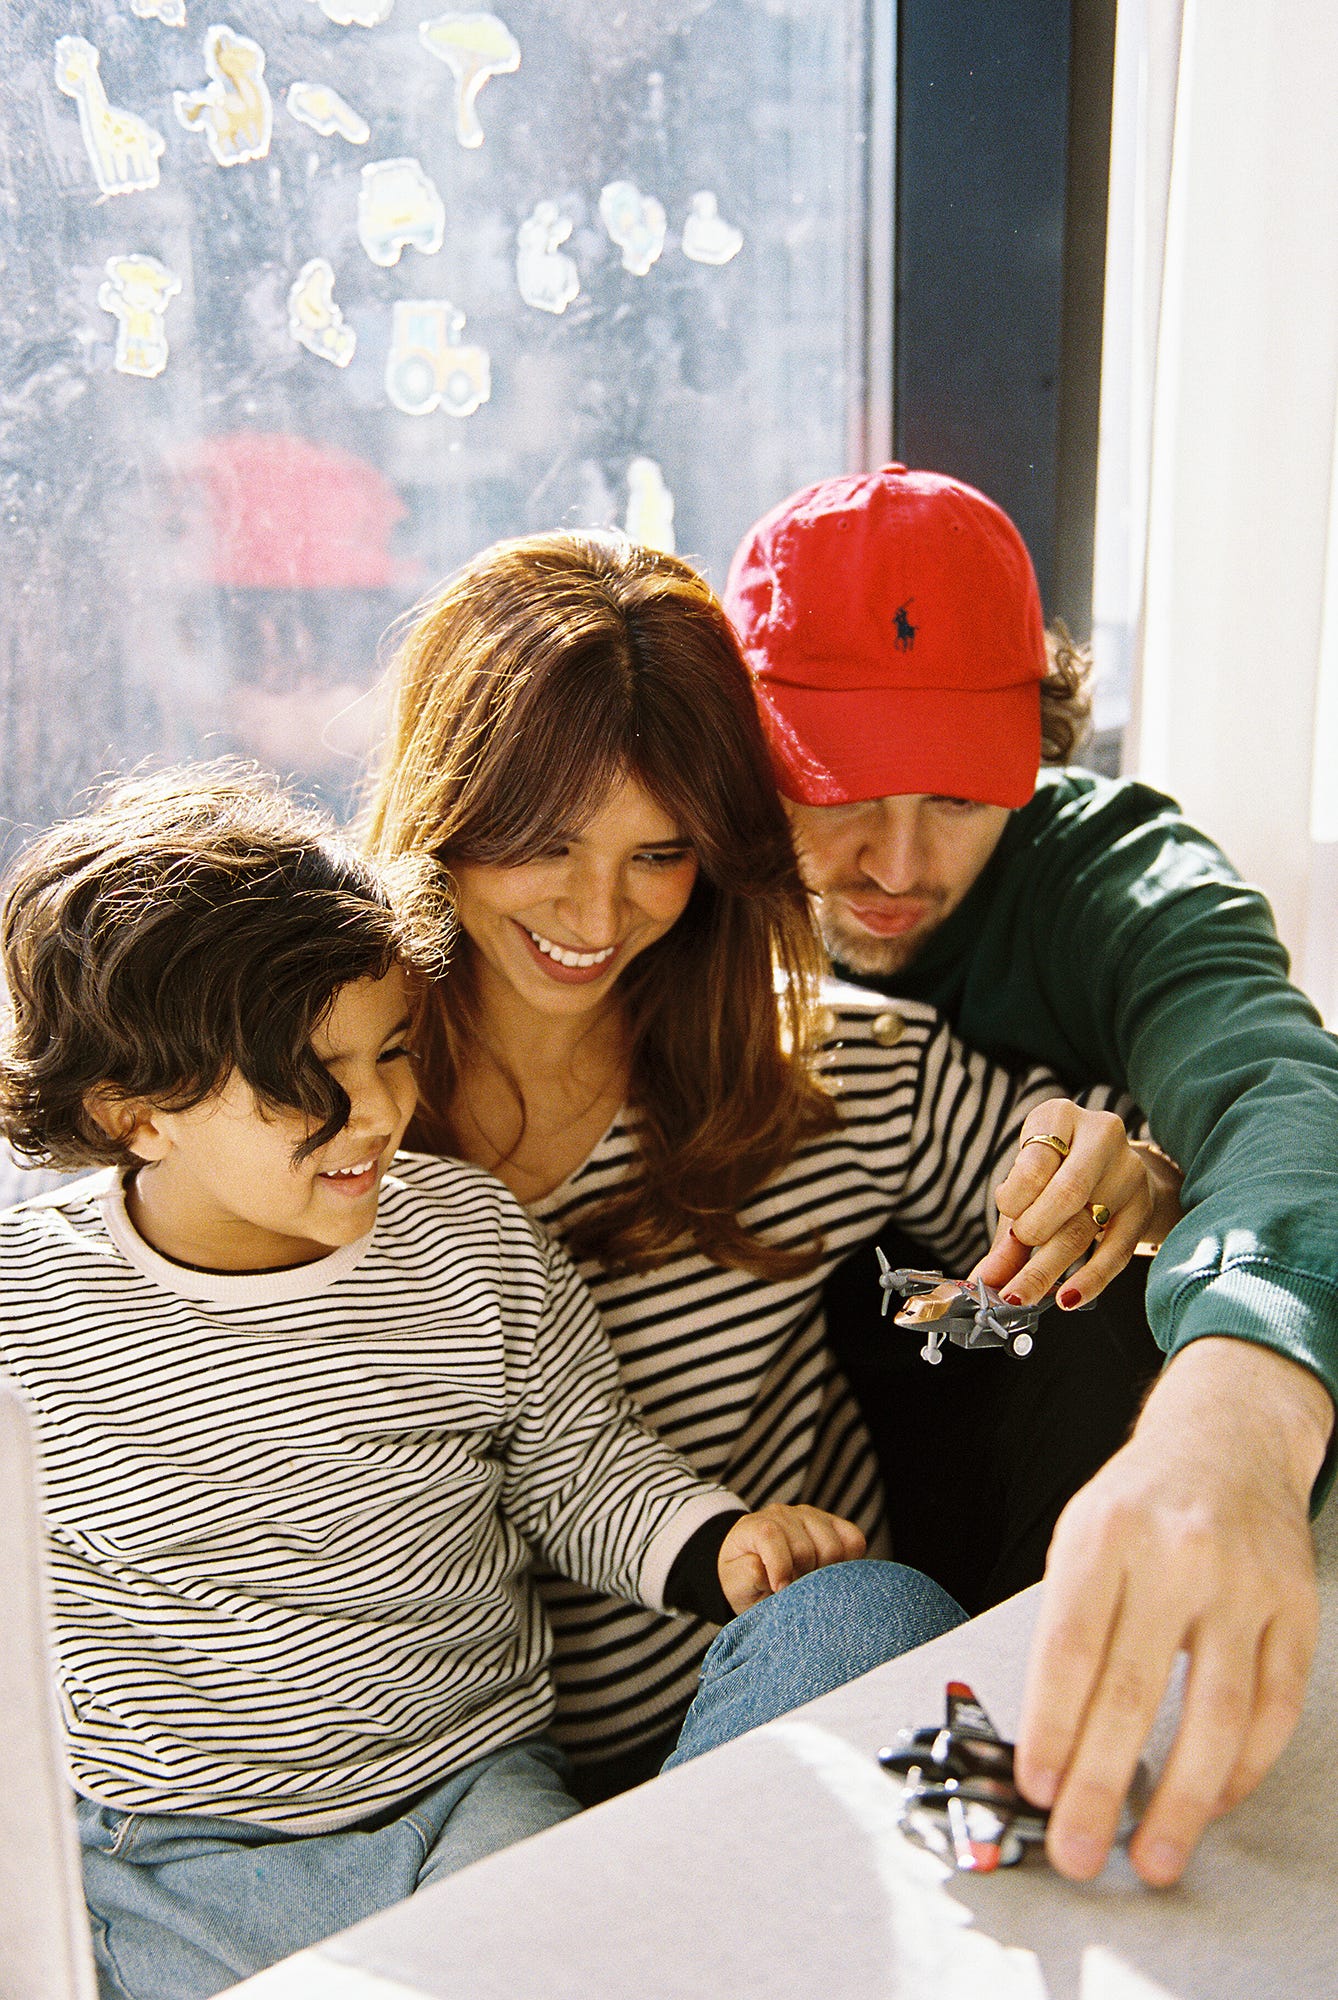
Tip: Be sure to hold the phone in the same light your subject is in. I actually just compared my light meter in different lighting situations vs. using a light meter app. I found that in order to get an accurate reading with the Light Meter app, I had to hold my phone about a foot or closer to my subject’s chest/neck area. Watch this video to see for yourself! (big shoutout of gratitude to my kids who were willing to help me out in this… side note and tip for parents: I don't pay my kids to do household chores because we talk about how that’s important to do for the sake of helping the overall household/team. But helping me make this video is the perfect example of something I love to pay them for. And when I do, I have them split the money into three ways with this super awesome piggy bank that helps them understand money management).
Rely on Your Camera’s Internal Meter (If It Has One)
Many cameras like the Canon AE-1 or Nikon F3 have internal meters. These work okay in even lighting, but they often get confused in backlight, indoors, or low contrast situations. You can also use the auto mode on a camera. If you do this, I recommend setting the ISO on your camera a half stop overexposed.
Meaning if you use a film with an ISO of 400 (like portra 400), you’ll set your camera’s ISO to 320 or 200.
If you’re using a film with an ISO of 800 (like portra 800), you’ll set your camera’s ISO to 640 or 400.
Tip: Read your camera manual to see how your camera meters (center-weighted? average?) and do some tests to see how consistent it is. And then adjust accordingly.
What To Do From Here
Start with a light meter app (I love the Light Meter Ultra app, it’s free and really easy to use)
If you’re ready to go deeper with an external light meter, the Sekonic 358 is my favorite and going to be between $175-$350
Practice metering in different light scenarios — indoors by a window, direct sunlight, golden hour
Don’t rush. The beauty of film is that it slows you down. Personally, I think given how much and how quickly the world expects so much of us… let yourself lean into this part of shooting film, and enjoy it.
If you could start nailing every roll of film you shoot, what would you love to start taking pictures of?
As always, don’t hesitate to post any questions about photography or shooting film below. I want to help you learn how to master this medium so that you can start enjoying the fun, magical parts of it!
If you’re not already a subscriber (paid or free), be sure to sign up because tomorrow I have something super exciting to share that I’ve been working on for the last 6 months for you!
(and no, it’s not a digital course… although I do already offer those, scroll below to check those out and learn more from me!)
xo
Suzy
Ways to Learn More From Me
Listen to me chat with Kim Box of The Motherhood Anthology on their podcast!
If you’re a pro family photographer and want to start learning how to lead emotionally-rich, creative photo sessions for your clients, click HERE to watch my free class on how to do so!
If you want to learn all about how to shoot film, click HERE to check out How to Shoot Film class! Use the code GRATEFUL2025 for $100 off as a token of my gratitude for being here with me.
Can you recommend a great lens for the canon ae-1? Thanks for all of your helpful tips!
This is such valuable information, thank you! I’m a birth doula so being able to nail exposure in often very low light would be a dreeaaaam to learn!